> ## Documentation Index
> Fetch the complete documentation index at: https://docs.projectdiscovery.io/llms.txt
> Use this file to discover all available pages before exploring further.
# What is exposed?
> Add Assets to identify where your tech stack is exposed to the internet?
## Summary
Walk through the steps you need to identify the assets in your environment that you want to protect.
For organizations that have visibility into their technical stack or inventory, you can easily upload a list of assets to the Cloud platform or use this [API endpoint.](https://docs.projectdiscovery.io/api-reference/assets/upload-asset)
For users that do not have a full list of assets we have two options:
* **Add Assets with Auto Discovery** - This is the simplest approach for a quick understanding of your exposed assets. Auto Discovery is supported by multiple open source ProjectDiscovery tools to find subdomains, ports, and endpoints that are exposed on the internet.
* *Note: We are actively building this feature. Discovery will continue to expand and improve to reflect the robust scope found in our open source tools.*
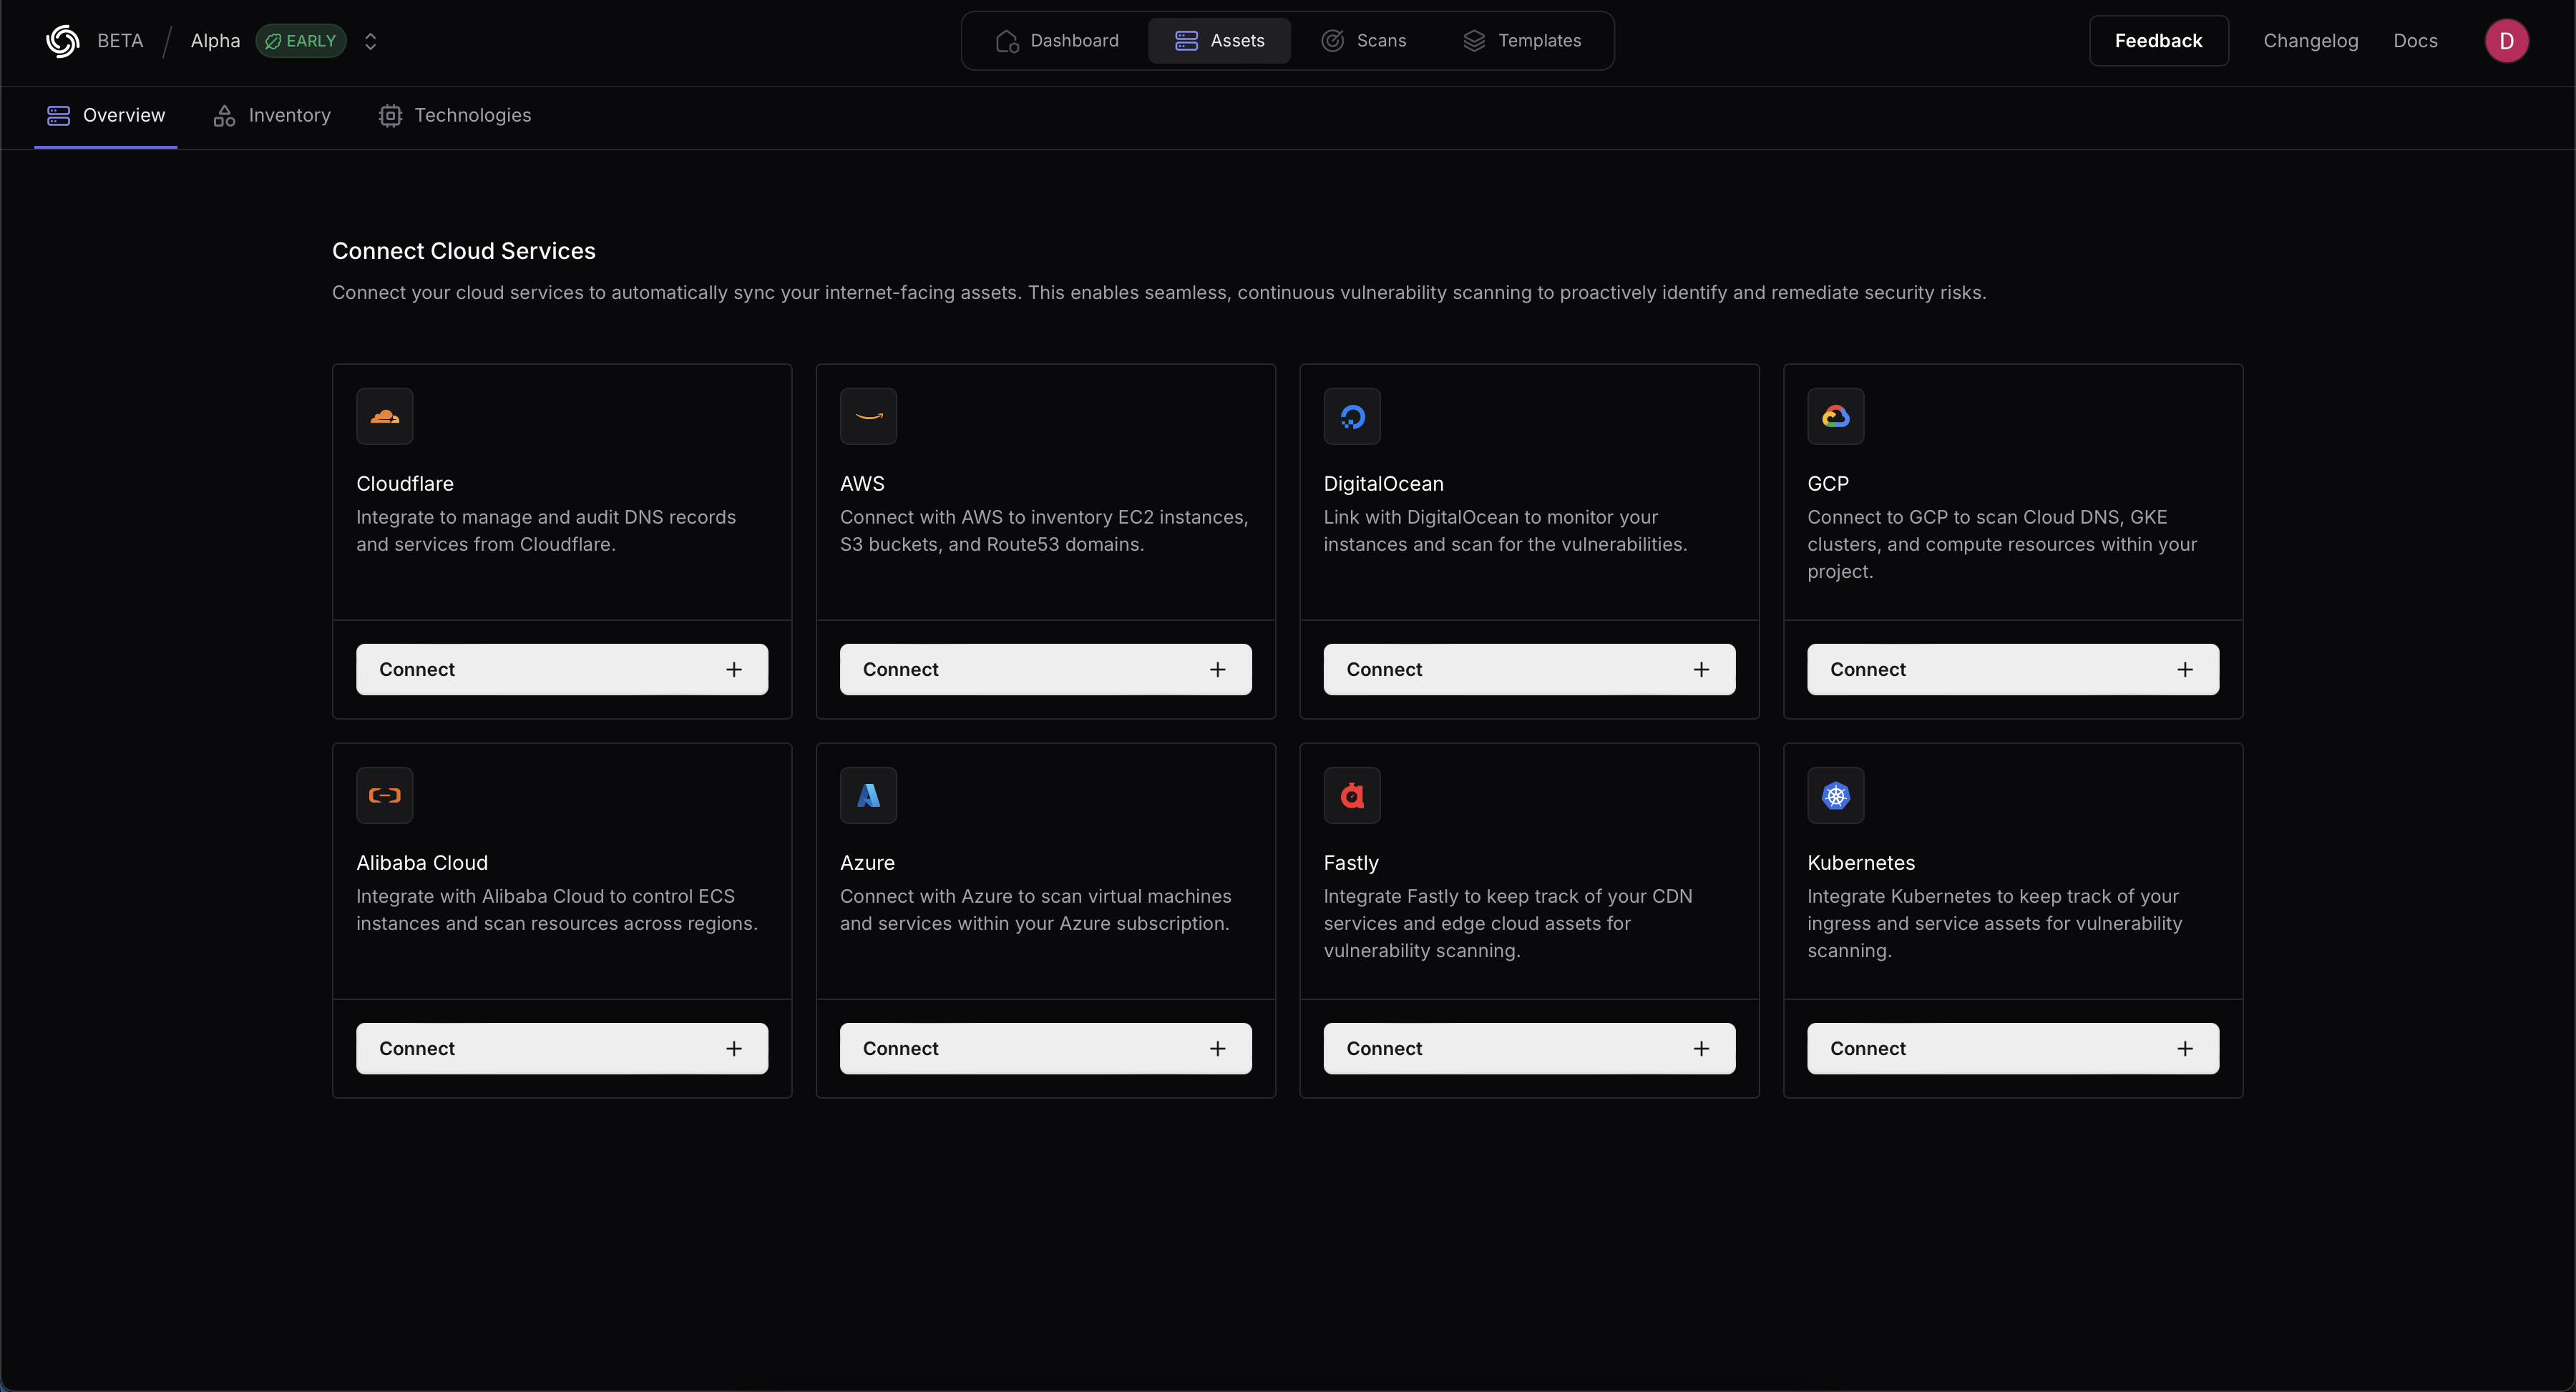
* **Integrate Cloud Services** - This feature supports numerous cloud service providers (AWS,GCP, Azure, CloudFlare, Fastly, and others). Once integration is configured the Cloud Platform polls the configured cloud service provider to continuously update
for any changes made by your team.
 ## Add Assets for
### Add a Cloud Integration
Navigate to [https://cloud.projectdiscovery.io/assets](https://cloud.projectdiscovery.io/assets)
Choose **Integrate Cloud Services** to show the full list of supported cloud services providers.
Select from the available cloud service providers, click **Connect** and provide the configuration details.
Select **Verify** to complete the configuration and get the Cloud Platform started on discovering your assets.
### Add New Assets with Auto Discovery
Navigate to [https://cloud.projectdiscovery.io/assets](https://cloud.projectdiscovery.io/assets)
Choose **Add New Assets** to open the asset workflow.
Add your Assets as root domains, IPs, or CIDR ranges you want to enumerate.
* You can add up to 50,000 individual hosts or 50 root domains.
* Click the **Advanced** tab to manually update the Auto Discovery Settings, and select a schedule.
Select **Add Assets** to complete the configuration and get the Cloud Platform started on discovering your assets.
With a Cloud Integration or Assets including Auto Discovery, you are now set up to ensure that the assets you added are maintained and up to date for scanning.
## What's Next?
Now that you've defined the Assets you want to include on the Cloud Platform you can move on to building your scans to detect vulnerabilities.
* Review [scanning basics](/cloud/scanning/overview)
* Explore [continuous scanning](/cloud/examples/continuousscan)
* Set up [custom automation](/cloud/examples/customautomation)
## Add Assets for
### Add a Cloud Integration
Navigate to [https://cloud.projectdiscovery.io/assets](https://cloud.projectdiscovery.io/assets)
Choose **Integrate Cloud Services** to show the full list of supported cloud services providers.
Select from the available cloud service providers, click **Connect** and provide the configuration details.
Select **Verify** to complete the configuration and get the Cloud Platform started on discovering your assets.
### Add New Assets with Auto Discovery
Navigate to [https://cloud.projectdiscovery.io/assets](https://cloud.projectdiscovery.io/assets)
Choose **Add New Assets** to open the asset workflow.
Add your Assets as root domains, IPs, or CIDR ranges you want to enumerate.
* You can add up to 50,000 individual hosts or 50 root domains.
* Click the **Advanced** tab to manually update the Auto Discovery Settings, and select a schedule.
Select **Add Assets** to complete the configuration and get the Cloud Platform started on discovering your assets.
With a Cloud Integration or Assets including Auto Discovery, you are now set up to ensure that the assets you added are maintained and up to date for scanning.
## What's Next?
Now that you've defined the Assets you want to include on the Cloud Platform you can move on to building your scans to detect vulnerabilities.
* Review [scanning basics](/cloud/scanning/overview)
* Explore [continuous scanning](/cloud/examples/continuousscan)
* Set up [custom automation](/cloud/examples/customautomation)