Summary
ProjectDiscovery Cloud Platform has provided you with comprehensive scan results on exploitable vulnerabilities - what’s next? You want to get your team involved and have a more seamless pipeline between data visibility, discovery, and follow up. For your organization this means getting important tasks into Jira! In this example, we’ll walk through setting up this important workflow for a brand new user. You will add assets, configure a Jira integration, and initiate a scan to create a ticket for your team to take action.What You’ll Do
In this walkthrough we’re going to go step-by-step to complete the following actions:- Add Assets
- Configure Jira
- Configure ProjectDiscovery Cloud Platform for Jira ticketing
- Start a scan to test your new integration
Prerequisites
To complete the integration you will need to have the correct permissions to access account details within Jira. Refer to Atlassian’s documentation for additional details.If you are not a Jira administrator you may need your organization’s Jira administrator for assistance in collecting these details.
- Jira instance URL
- Jira Account ID
- Jira email
- Jira API Token
- Jira Project name
Add Assets
For this example we’re going to stick with the simplest path and add assets to your PDCP environment by uploading a .TXT file with the domains you want to include for scanning. If you already have assets in ProjectDiscovery Cloud Platform, you can skip ahead to Connecting Slack. For for other Asset upload options check out the docs on Adding Assets.1
Add New Assets
Navigate to the Assets tab and select Add New Assets.
2
Choose Scope
On the Scope tab, use the Upload files option to add your .TXT file of domains.
3
Select Options
Select your preferred configuration options:
- Auto Discovery is enabled by default, toggle to disable if desired.
- If you choose to leave Auto Discovery enabled, select your desired frequency.
- Navigate to the Advanced tab to modify individual discovery settings for subdomains, open ports, etc.
4
Complete your setup
Select Add Assets to complete the setup.
Connecting Jira
After adding your assets, you will need to connect your ProjectDiscovery Cloud Platform environment to Jira. There are two parts to this, the part you will need to complete in your Jira environment and the details you’ll need to add to ProjectDiscovery Cloud Platform.Jira Setup
Logged in to Jira as an administrator visit this link to locate your Jira instance URL. You can also use the REST API to obtain these details. Note: The format for URLs in Jira will vary depending on your account type (Jira Cloud vs on-prem)1
Find your Jira instance URL
Log in to your Jira account and locate the following information:
- Jira instance URL
- Jira Account ID
- Jira Project Name
2
Create an API Token
- Logged in as a Jira administrator navigate to https://id.atlassian.com/manage-profile/security/api-tokens.
- Click Create API token.
3
Save your API token
- In dialog that appears, enter a memorable label for your token and click Create.
- Click Copy to clipboard, and save this information in a safe place.
ProjectDiscovery Cloud Platform Setup
Before getting started with this part of the setup ensure that you have completed the configuration required in Jira.1
Launch the Jira integration in PDCP
Navigate to Scans → Configurations and under Ticketing select Connect under the option for Jira.
2
Add your config details
In PDCP complete the information for Jira including:
- A name for your Jira Configuration
- Jira instance URL
- Jira account ID
- Jira Email
- Jira API Token
- (Optional) Select Enable for all scans option if desired (you can also select this option during scan creation)
- Select Next to continue the Jira integration setup.
3
Continue adding your config Details
- Provide the Jira Project name for the project in which you want to create issues from ProjectDiscovery Cloud Platform.
- Provide the Jira Issue type you want to have created.
- Add the Closed status. (Default is “Done” but this field can be edited)
- Choose your preferred options (toggle) for Severity and Deduplication.
- Add any Custom field details you want to include.
- Refer to an example on custom fields from ProjectDiscovery (scroll to Jira)
- Review Atlassian’s documentation on creating custom fields, or locating existing custom field IDs.
4
Finalize your configuration for Jira
Once you’re satisfied with your configuration select Verify to complete your Jira integration.
Create a Scan
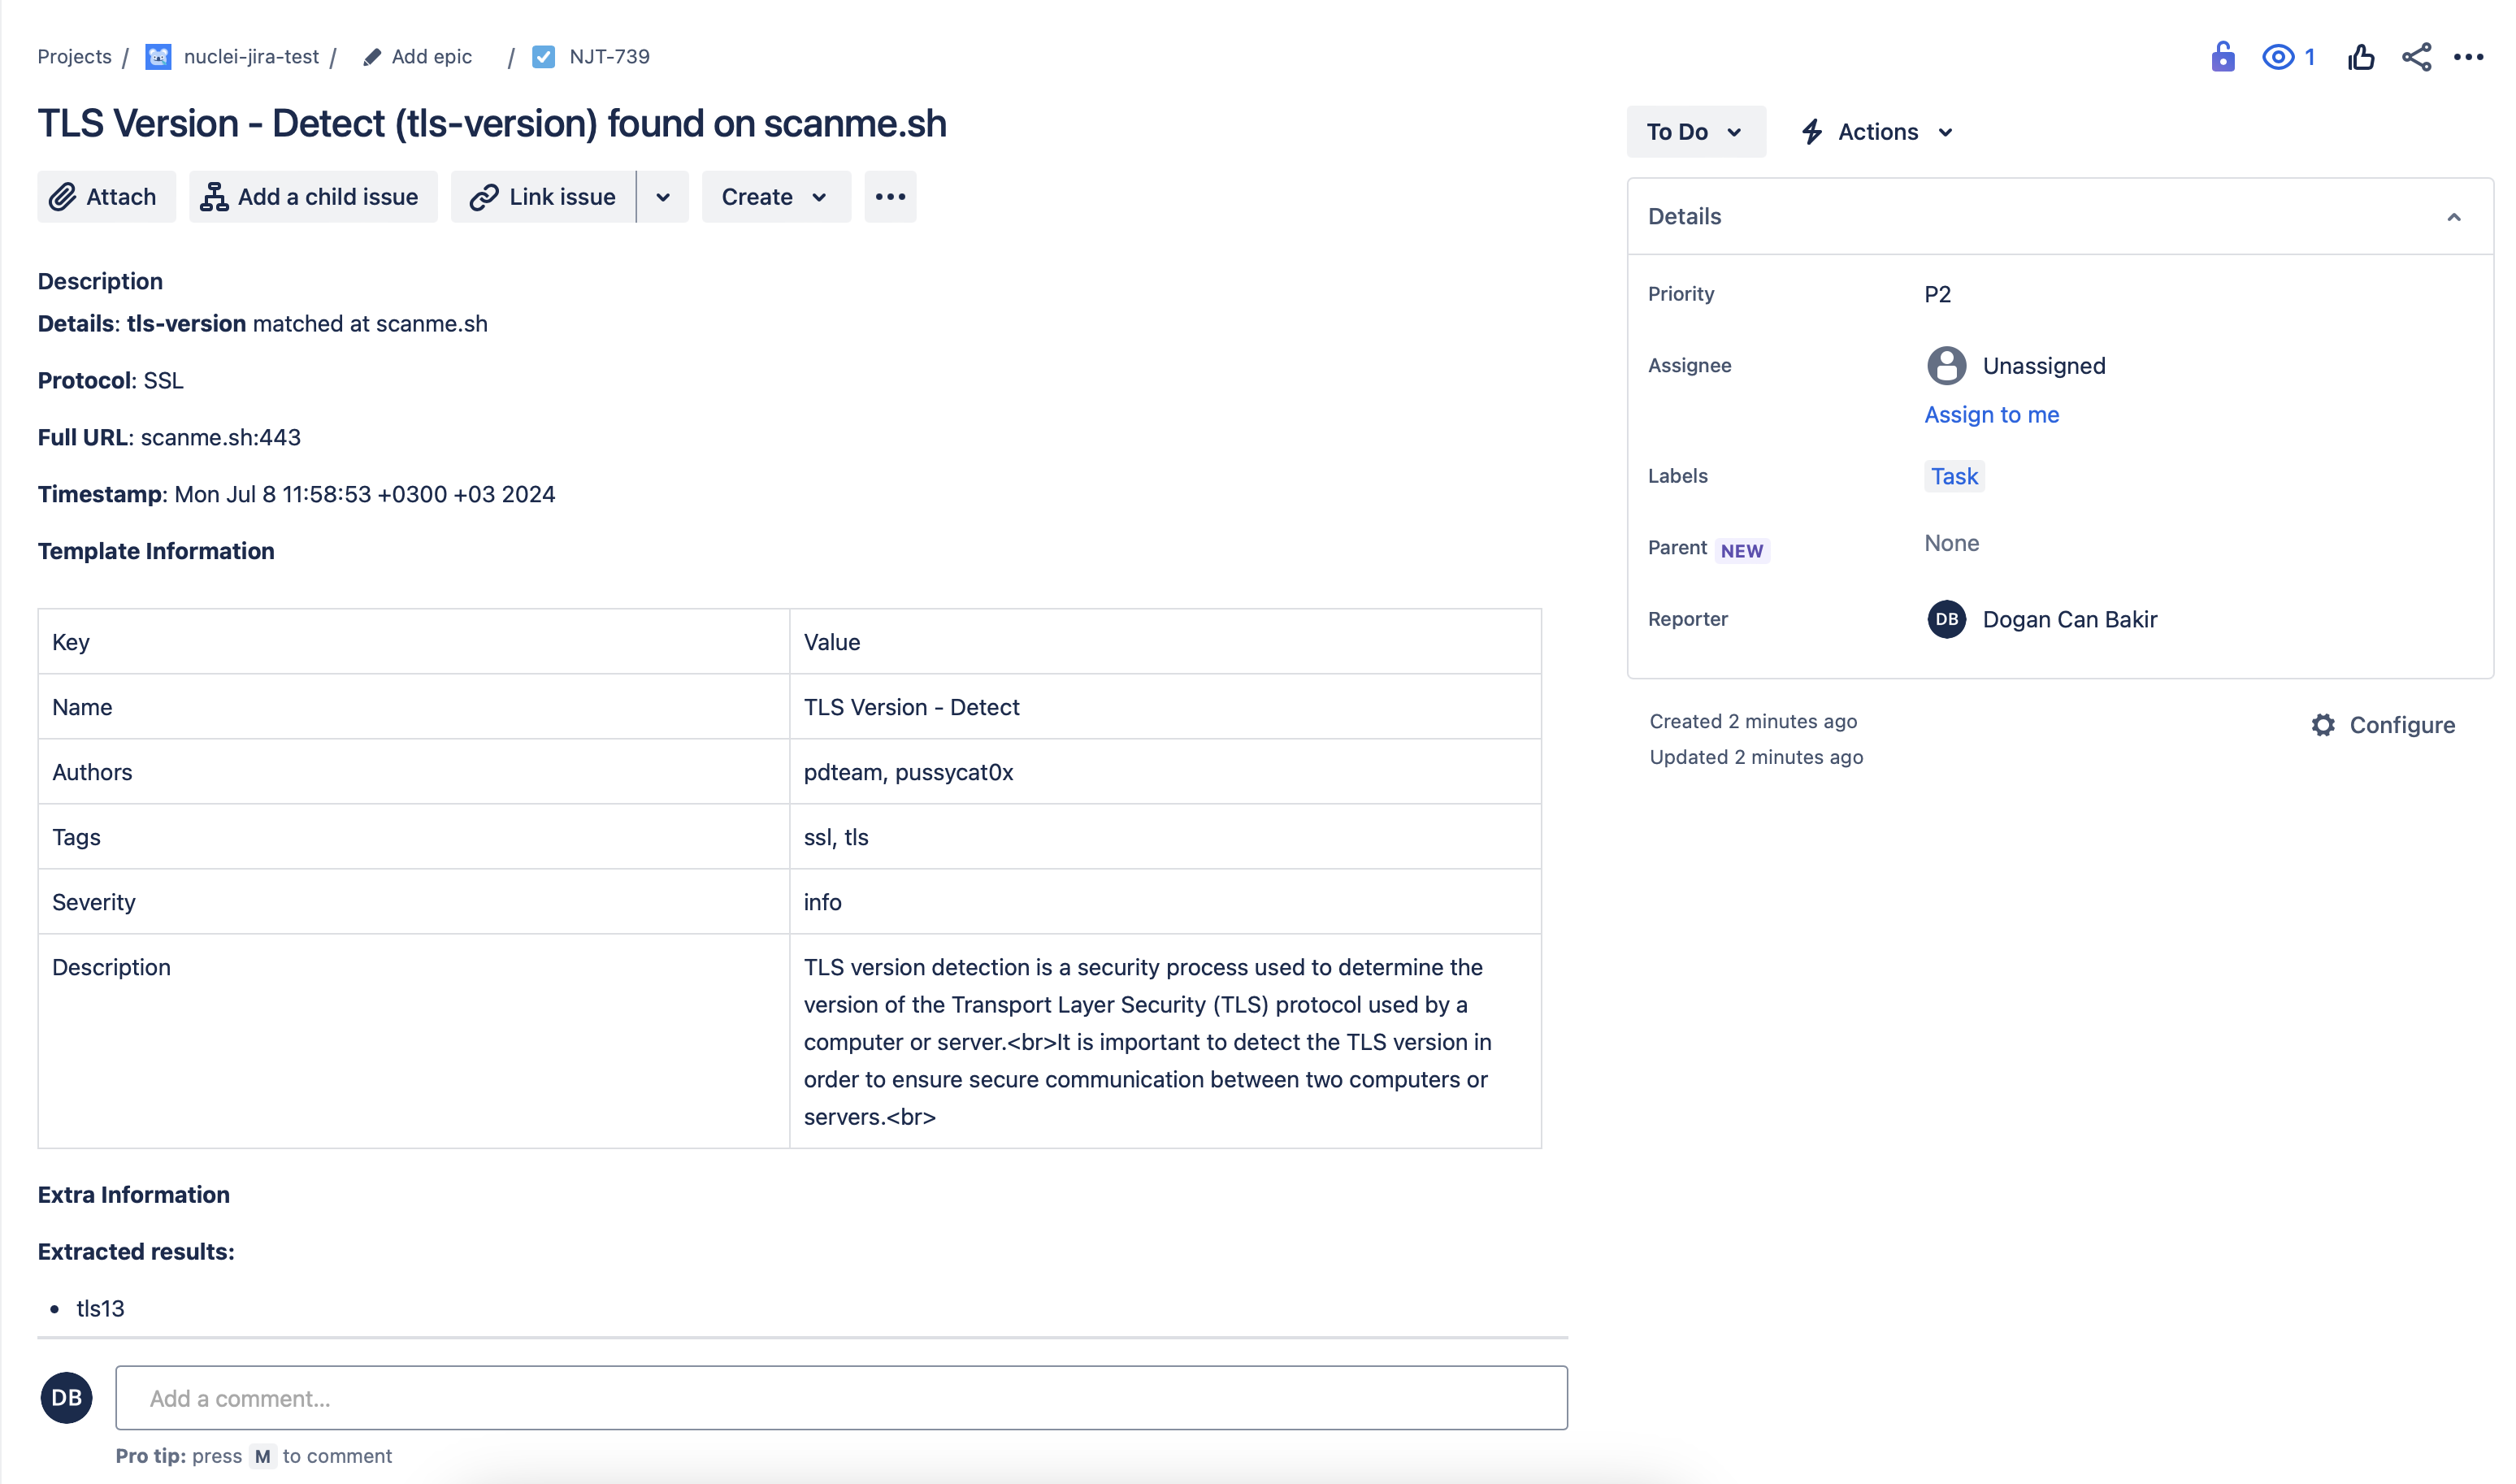
The final step is to create a scan, verify that your Jira integration is set up correctly, and check for the corresponding ticket in the Jira project you configured.1
Create a new scan
From the Scans tab select Create New Scan to open the creation workflow.
2
Complete Scan Details
- Select from the Assets we added in the first step.
- Choose the templates or template profile you want to use for scanning. For this example we suggest keeping the Recommended template profile.
3
Finalize your config
Provide a name, select a scan frequency, and complete any additional configurations (integrations, configurations, or variables).
4
Finish creating
Click Create Scan to start your new scan. This scan will be added to the Scans page with an in-progress status until it completes and provides the results of the scan with any vulnerabilities.
5
Check for Tickets
Check your Jira project to verify that your alert is working as expected!
